Showing posts with label design. Show all posts

Wednesday, November 1, 2023

STEM Lab 23_24 Round 2

I have been so busy being amazed by the incredible work the students are doing this round, I just realized that I had yet to write the blog post about it!


Kindergarten & First Grade

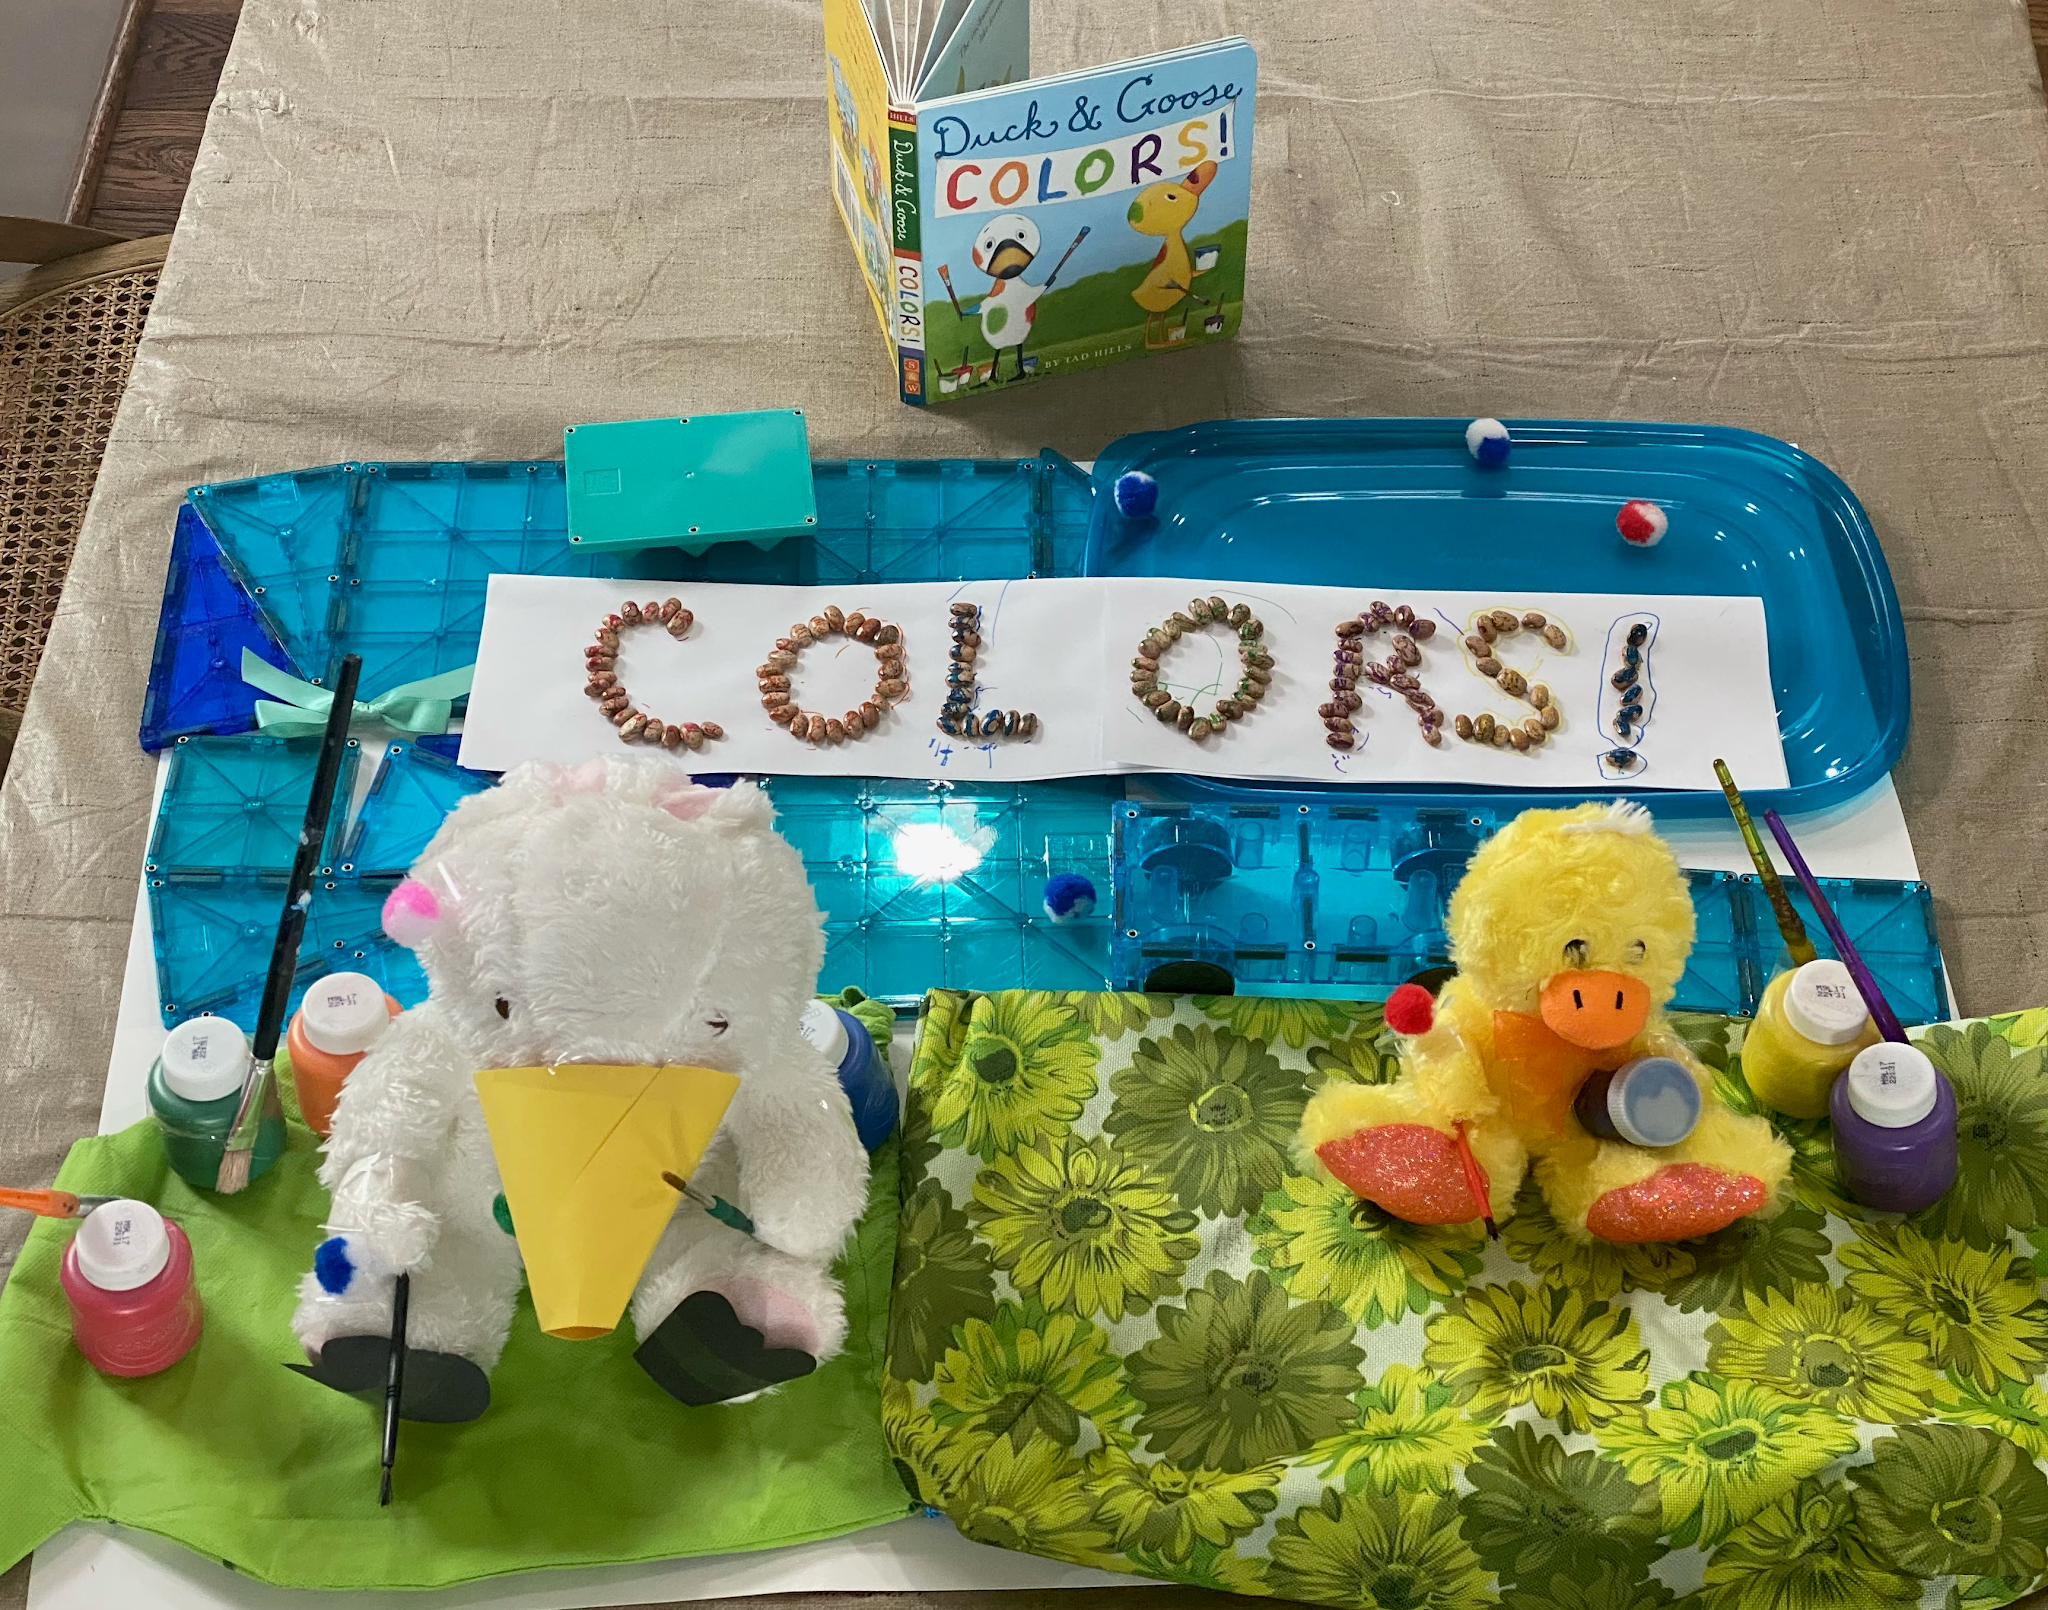
This round is one of my personal favorites, Math Stories. In this unit, each day starts with a picture book that centers on some kind of math concept. Some of the books tell stories, while others are more like counting books or math puzzles. Each grade level's books feature a variety of math topics including number sense, geometry, measurement, multiplication, and general problem solving. After the day's reading, students complete a hands-on activity related to the math concept covered in the book. Sometimes the activity is a bit like an art project, other times it is practice employing a particular tools or strategy. What I love about this unit is the chance to pair two subjects (math and literature) that students too often think of as related. 


Second Grade

This past summer I was fortunate to be able to travel with Lindblad Expeditions and National Geographic as a Grosvenor Teacher Fellow to the high arctic archipelago of Svalbard. (You can read more about the particulars of that experience here and here.) This is the first project inspired and informed by my fellowship experience. I have done other iterations of this project before, but this time it was fully centered on the arctic. We started with a photo highlights tour of my time in the arctic. Then students chose one of the arctic animals from a list and researched it using the National Geographic Kids website. Part of the note taking process included drawing the animal and its habitat. Those drawings served as practice for the elements that were included in a Scratch Jr project about the selected animal. Students drew their animal's habitat and several versions of the animal. These drawings were photographed into a Scratch Jr project and coded to share information that students gathered from their research. This is one of the first projects students in the STEM lab complete that combines physical and digital elements and the results were amazing.


Third Grade

A perennial favorite in the lab is cardboard arcade, and this round saw 3rd grade get their chance with this project. Many of the current 3rd graders remember getting to visit the lab in 1st or 2nd grade to play cardboard arcade games and there were cheers from several students in each class when I announced the project for the week. We start by watching the short film Caine's Arcade for inspiration and discussion. Then students begin brainstorming and planning their games in their STEM lab journals. The middle of the week is spent building, testing, and making necessary adjustments to the design. At the end of the week finished products are presented to a visiting group of students from 1st grade along with administrators. These presentations are an important part of the design process in the lab. Sharing their work with an authentic audience gives the students a chance to practice talking about what they have created and what they have learned from the building process. The presentations also serve to inspire the younger students when they see the kinds of projects they will get to do as they progress through the STEM lab curriculum.


Fourth Grade

For the 4th graders, this round was the first half of a 2 part project. The end result will be an interactive biography programmed in Scratch and controlled with a physical display. Part 1 involves researching the life and important contributions of a well known artist or scientist. They had their choice of 11 different people as well as the choice of whether to work alone or with a partner. Once they had completed their research, students moved on to the Scratch project. The programs are run with key press events which will allow them to be controlled in part 2 with the Makey Makey and the physical display. Students had to find 3 relevant images and at least one map to include with their program. We had some great discussions about using images to illustrate the information being shared in the program. In round 2 the students will share their completed projects with a visiting class and administrators. 

The Scratch biographies can be found in this studio. (Some are still works in progress.)

Fifth Grade

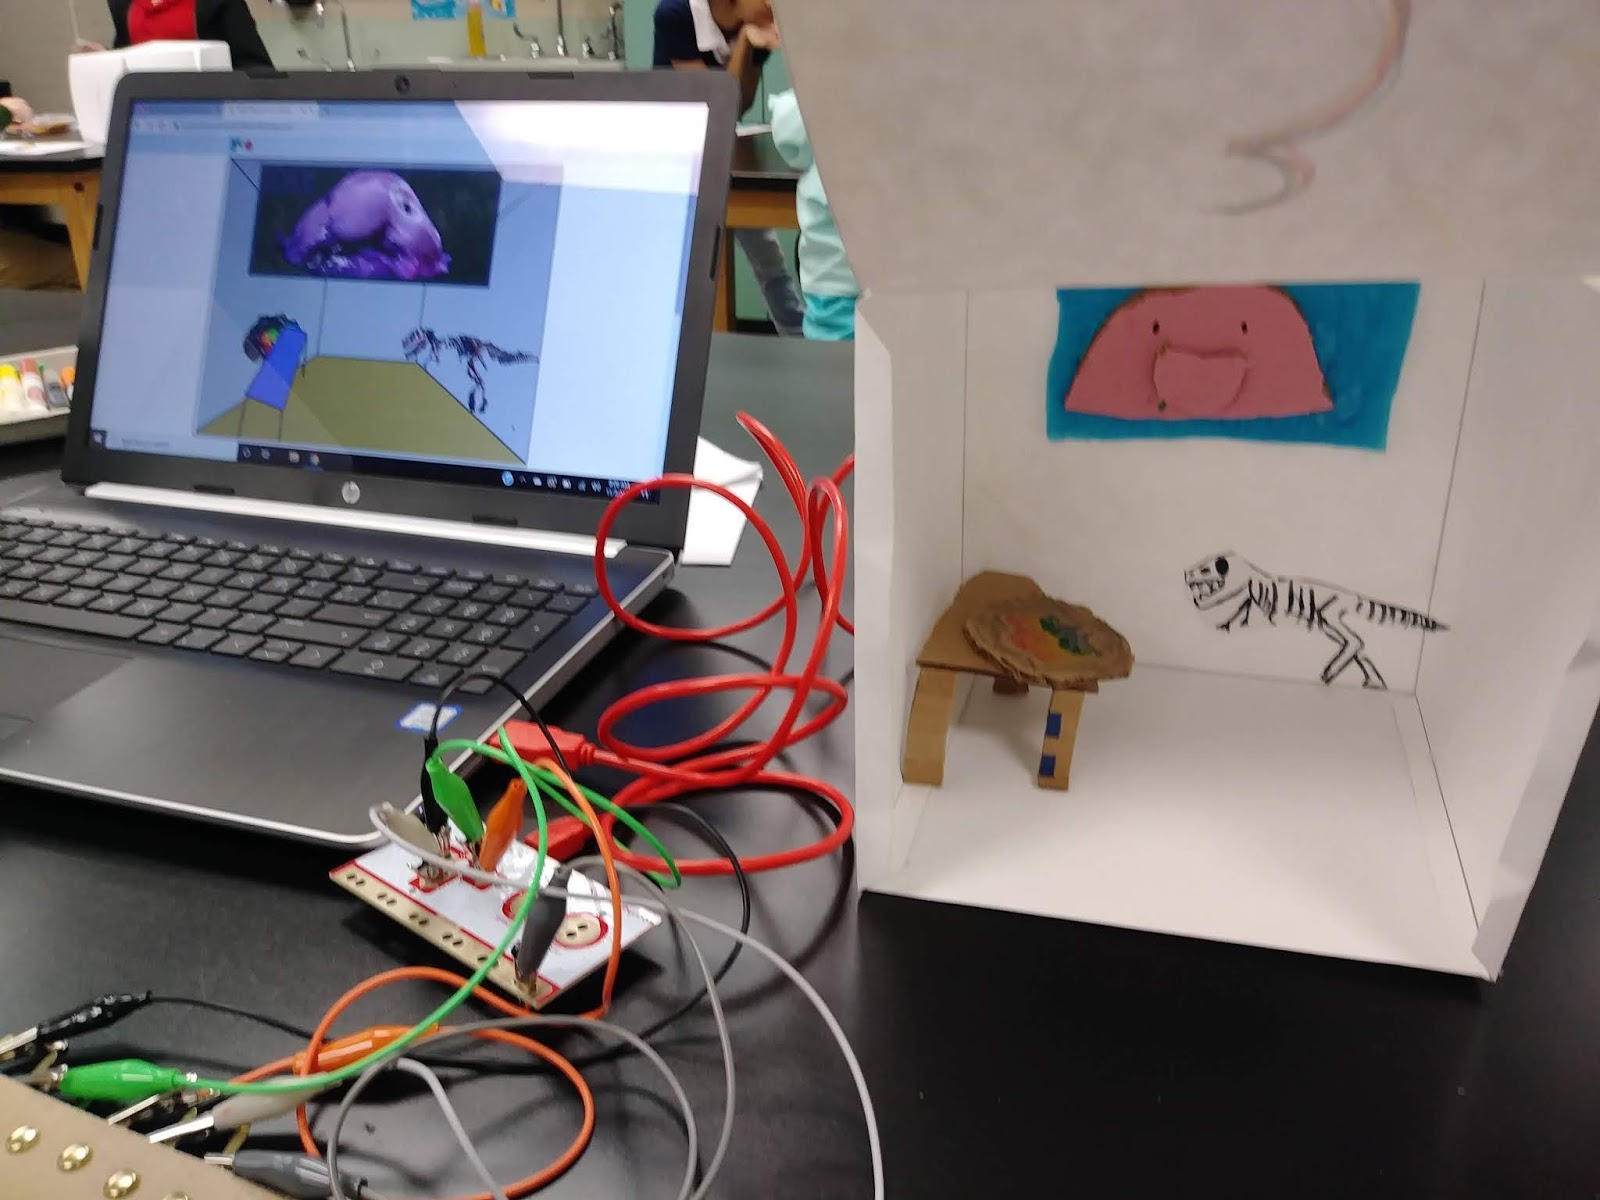
Like 4th grade, the 5th graders started work on a two part project. This one is called Tiny Museum. The students conduct research on a chosen topic and use Scratch to create a virtual museum room with artifacts and images that share what they have learned. The project includes a narrator that serves as a digital tour guide to the exhibit they have put together. The topic choices I gave them were inspired by my aforementioned National Geographic fellowship. I wanted them to focus not just on the basic information about the topic, but also the impacts human activities are having on the arctic ecosystem. The second part of their project will have them building a physical model of their museum room and wiring a switch to the door that triggers the tour guide to start start speaking upon the door opening. 

Here is the studio of virtual museum rooms. (The projects at the top of the studio are very much works in progress because our 5th graders went to camp the last week of the round, so they only had 2 days to work on their programs.)

Monday, September 28, 2020

Starting the Year in the Virtual STEM Lab

Now that the first 3 weeks of the strangest school year of my career are behind us, and we have settled into a rhythm of sorts, it seemed like a good time for the first blog post of the year.

The lab schedule and projects were created in order to minimize stress on families. Synchronous whole group meetings were set for Monday to introduce the projects and Friday to review and share. The projects varied by grade level of course, but the theme across the board was "plugged or unplugged". I wanted students and families to have a project choice that did not involve a computer because I am well aware of how much time the children are spending in front of the computer already.

The "plugged" option for my Kindergarten, 1st, and 2nd graders had them working in their grade level Code.org courses. It was a bit different this year since the unplugged activities are a bit of a challenge to lead in a Teams meeting. The students who have chosen this activity have done a great job progressing through the lessons. I have been most impressed however with the quality of their responses to the reflection prompts. (These get submitted through our district LMS called the HUB.) It was great to see their excitement about successfully completing the puzzles at each level and to see them reflecting on what they had learned. So far my favorite response to "what is one thing you have learned this week?" is from a 1st grader who noted, "I learned that there is more than one way to do things". That is one of the key messages in the STEM Lab.

The 3rd, 4th, and 5th graders' "plugged" choice involved using the Scratch programming language to create a project. The 4th and 5th graders are familiar with Scratch for the most part and I challenged them to create an animated book review project. The 3rd graders missed out on their traditional introduction to Scratch at the end of second grade, so they are mostly new to the platform (though most have experience with Scratch Jr). Their task was to create a project that introduced themselves to others. In both cases I provided examples, but encouraged the students to be as creative as they wished with the form their projects took. I have not been disappointed so far. The 3rd graders are doing an amazing job of problem solving their way through this new programming environment, and the 4th and 5th graders are extending their skills through some playful experimentation.


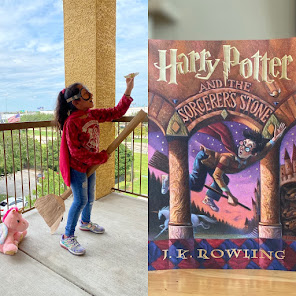
The "unplugged" activity was the same for everyone, Kindergarten through 5th grade. The challenge was to use whatever materials they have around to build a 3 dimensional model of a favorite book cover. I showed the students a few examples, but again, they were encouraged to be as creative as possible. The only rule was no 2D products. I have gotten so many amazing projects back so far. This building project has proven to be a bit more of a popular choice than the coding project. I am not terribly surprised by this because when I told the classes in our meetings that they had a non-computer choice there were many looks of relief.


As I mentioned above, there is a reflection piece to these choices. The prompts vary by grade level a bit, but are all aimed at getting students to reflect on what they learned, the quality of their work, and to think about how they might improve their projects in a second iteration. One of my favorite prompts is the one that asks students to choose 3 adjectives to describe their work. Some responses I have enjoyed from a variety of students include "challenging", "surprising", "awesome", and "breakable".

We have a few weeks left of fully digital learning. Beyond that point there are many unknowns. But whatever may come, I have loved seeing the students' work, and I know that we will find a way to continue making together.


Wednesday, May 6, 2020

From the Remote STEM Lab

Designing with lenses
This is not how I thought this year would end. I was looking forward to having my 5th graders create animated art works with Scratch and Raspberry Pi. Fourth grade was going to begin working on a Geo-Inquiry to accompany my upcoming Fund For Teachers expedition to the Galapagos Islands. My 3rd graders would be learning about physical computing with Micro:bit, and 2nd grade would be learning to use the full version of Scratch. Kindergarten would be using Scratch Jr. to tell stories. The Digital Making club would have just finished sharing their projects as a part of our annual STEM Night. I would be organizing projects from 3rd, 4th, and 5th grades to present at the Scratch Conference at MIT.


Instead, we are all sequestered away from each other. Students are sharing work from home on Scratch, Google Classroom, Living Tree, Teams, and email. My expedition to Ecuador has been pushed back to 2021. The same goes for the Scratch Conference. It is a less than ideal situation.

However, flexibility and adaptability are two of our core values in the STEM Lab, so we adjust our plans and do the best we can in a lousy situation. Here's what we have been doing in the Remote STEM Lab.

Building and Math Art Challenges
I challenged the Kindergarten and first grades to build towers and describe their design choices. Second grade made model animals and then compared and contrasted them. In addition to these, I sent out weekly guides for supplementary projects. These extra projects included building a chain reaction machine, a stabile, and a variety of activities that mash up math and art. (Credit for the math/art projects goes to Annie Perkins.) Those guides can be found here: Remote STEM Guides


Tons of Triangles

Tessellations

Animal models


Scratch Stories
The 3rd, 4th, and 5th grades were asked to use Scratch to tell a story. I gave them the freedom to decide what kind of story they wanted to tell. I got a wonderful range of projects, from biographies to retellings of fables to original stories. The students shared their projects to studios grouped by grade level. Links to each studio are below.
3rd: scratch.mit.edu/studios/25999827/
4th: scratch.mit.edu/studios/25999840/
5th: scratch.mit.edu/studios/25999872/


Code.org
Kindergarten, first, and second grade worked on completing their Code.org courses. During our office hour meetings we worked on some of the lessons together.

I cannot wait to get back to school to see the amazing students of Sinclair Elementary. I am already planning for next year in the hope that conditions will allow us to gather in person to make, build, and program awesome stuff.


Sunday, February 23, 2020

Let the Games Begin!

The cardboard arcade has become a yearly fixture in the STEM lab calendar for 3rd grade. I place this in the third grading cycle because it usually has an extra week and few interruptions to the schedule.

We start with a brief overview of what exactly is an arcade. I always include both definitions (covered passageway lined with shops AND place to play games for a fee), because I see myself as a teacher of all subjects. Then we watch and discuss the Nirvan Mullick film Caine's Arcade which is the original inspiration for the whole cardboard arcade phenomenon. The movie documents the arcade built by a 10 year old boy who was spending the summer hanging around in his father's auto parts store.

Next students get together in teams, or elect to work independently, and brainstorm ideas. I place as few limitations on them as I am able. The games must be table top size and must be playable by first and second graders. I encourage the students be be as creative and not just make a replica of an arcade game they saw at Dave and Buster's. Once an idea is selected, students begin planning in their journals. These plan include a list of materials, steps for completion, and direction for how to play the game. I insist on a detailed plan because I find that it cuts down on the amount of materials that are wasted. During the planning phase I meet with each group to offer feedback on their design. Depending on what they are trying to make, I ask questions to get them thinking about the details that will need to be included. That may be "how will you build the ball return?", "how will you stop the ball from flying across the room?", or "how will player know they have won?".

The construction and testing phase lasts several days. While I do help with some of the tougher cutting tasks, I make the students do as much of the hard work as possible. Last year I banned the use of tape in construction because it is wasteful and fails to hold the game together anyway. I spend a lot of the building class periods teaching students to use white glue and structural elements like L-braces and flanges to attach pieces of cardboard to one another. There is much gnashing of teeth in the beginning when I refuse to produce a roll of tape for them to mummify their project with. However, once a few students get the hang of the glue techniques, they are eager to share their skills with others.


The final phase of the project is always the presentation. I invite a class from a lower grade to come and play the games. I never know who will be available from which grade level, so I prepare the 3rd graders for the fact that they may end up entertaining anyone from Kindergarten through 2nd grade. They are always so excited to show off what they have made and the only disappointment ever voiced is that I did not invite their former teacher or the class with their sibling to participate.

There have been some really great projects so far in this unit including a 3 story escape room game, a pinball machine, and a nicely done soccer/hockey mash-up game.


Wednesday, February 5, 2020

Digital Dioramas and Skype-a-Scientist

This rotation in the STEM lab has the second grade taking their first steps into combining physical elements with digital ones to create projects. In my almost entirely self-designed curriculum, this kind of fusion is the ultimate goal for the students I work with. 
The students began by selecting an animal to research using the National Geographic Kids page about different species of animals. I let them explore an bit before choosing and starting to take notes in their journals. They also selected partners for this project. I provided the students with a list of facts that they needed to read for and record in their notes, but also encouraged them to include any information that they found especially interesting. Required information included what their animal eats, where it is found, and what threats it faces. We discussed how threats may be natural (predators) or human-caused (habitat loss/ poaching). Finally, they drew a picture of their chosen animal and its habitat in their journals.

Next, the teams worked together to create detailed drawings of their subject animal, its food, and its habitats. They cut out their pictures and practiced animating how they would move around in a Scratch Jr. project. Students used the camera function to photograph the pictures they drew of the habitats as backgrounds. They also added photos of their animal drawings as well as drawings of what it eats and the threats it faces.

Finally, the students programmed their hand-drawn characters to move around and to share facts they gathered through their research. This process was a great opportunity for me to teach the students about a number of different computer science concepts. They are already familiar with the primary event block in the Scratch Jr language, the Green Flag. This event is a general purpose "go" to all of the characters students have added to their programs. However, most of the teams discovered that the Green Flag event has its limitations because it makes everything move at once. When they wanted different characters to move and speak at different times I showed them the messaging events. When they wanted a prey animal to disappear after being eaten, I was able to show them the uses of the "when characters touch" event which is the beginning of understanding conditionals. 


We finished the unit by having each student team share their work on the SMART Board so they could practice providing each other feedback.

Another element of this unit that I personally find super exciting is our video chat with a scientist. This is facilitated by Skype-a-Scientist, a program that matches classrooms with scientists working in a variety of fields. Skype-a-Scientist connects teachers and scientists and they coordinate the scheduling of a video call. This program lets students see and engage with "actual living scientists" who were once sitting in a classroom as they are now. Each class gets to speak to a different scientist with a different area of study, so each conversation is unique. The first group spoke with a conservation biologist in Seattle, and the second group will be speaking with a geologist from the UK. Skype-a-Scientist is a non-profit run by Dr. Sarah McAnulty. I am proud to support this program with a monthly donation, and I would encourage our Sinclair Elementary families, and anyone else who cares about supporting science education to do the same at patreon.com

Friday, January 3, 2020

Two for One Blog Post - Interactive Posters and Math Stories

The run up to the winter break is is always a busy time. Mine was even busier than usual and the first casualty was my blog posting schedule. So this one will wrap up the work done by the kindergarten, first, and third graders during cycle 2. Then I'll be all ready to go when cycle 3 starts in another week.

Third graders got their first taste of true digital making during this rotation with the interactive posters project. Each class had a different set of research topics to choose from. I try to do this with all of my groups and grade levels. It gives me the chance to see how well various topics work for a particular project. Also, speaking for myself, I like to have some variety in the projects over the course of the unit since I am implementing the same lesson plan 4 times in a row as the classes rotate through the lab. The choices ranged from recycling and energy conservation to birds and fish to objects in our solar system.

Students had the option to work independently or with a partner. They researched their chosen topic and recorded notes in their journals. They then planned a Scratch project to teach about their topic. The plans needed to include backgrounds and sprites they would use, what facts from their research went with each background, and how the sprites would move and talk. I introduced the students to computer programming vocabulary like "event" and "comment". Events are a key part of how their programs for this project operate and commenting one's code is a good habit to get into and one I have been lax in training my students in acquiring. The students also learned how to add pictures from other sources to their Scratch projects. An important part of this is finding pictures that are open source and giving proper attribution in the project notes.

Teams start on the Scratch project together so that both partners are familiar with the basics of its function. After a day or two one partner steps aside and begins work on a poster that complements the Scratch project. When the poster and program are complete, brass fasteners and copper foil tape are added to the poster to create touch points that can be used as key press events to run the various parts of the Scratch program. Turning these conductive materials into "buttons" is achieved by using the Makey Makey input/output board. It is essentially a keyboard connected to the computer via USB without any keys. Wires with alligator clips connect the poster to the Makey Makey which, once plugged into the computer, allows the brass fasteners on the poster to function as key presses when touched.

One of the things I have come to love most about teaching in the STEM lab over the last 5 years is the pure excitement and wonder that students express the first time they try out something made interactive with the Makey Makey.

I wrote a guide to this interactive poster activity that can be found here on Instructables.

Kindergarten and first grade had a unit that centered on math and literacy. Each day we read a story in which some kind of mathematics is involved, different books for each grade level, and then worked on an activity related to the math concept from the book. The books vary a little from one class to the next. Partly that is because of the various interruptions like fire drills and holidays that occur, and partly it is because I do not own a copy of all of the books I would like and have to request them from the public library. Regardless of the books read, the math concepts covered are generally the same. We touch on things like doubling and skip counting. We look at strategies for decomposing and grouping numbers. There is always some measurement and some geometry as well.

I have done some form of this unit for the last few years in the lab and it is always one of my favorites. This unit was born out of my realization that after a couple of year out of the regular classroom I missed teaching literacy, and more specifically books, to my students. My two week units do not allow me to teach novels like I used to, but this unit gives me the chance to read with students again. More importantly, I get to make clear to them the connections between mathematics and literacy that I fear they miss during their classroom reading block.


Friday, November 22, 2019

Morning at the Mini-Museum

This rotation in the STEM Lab has 4th grade working on a project that combines digital and physical elements to make an interactive display. I adapted this activity from one done by a teacher I know in Virginia. (Link to her project guide is below.) I was overly ambitious in my additions for the first group, so some adjustments and refinements were necessary after the first class completed their projects.


On the first day of the unit, students went on a virtual field trip to the Smithsonian Museum of Natural History. The "wandered" around the museum recording observations in their journals regarding the things they saw, how the objects were displayed, and anything else that they found interesting. We followed up with a discussion about what the purpose of a museum is. The students gave several great responses including: "so people can learn and discover things", "so people can see things they have never seen", and "so people can learn about life in the past". That day finished with students brainstorming a list of things they would include if they could design a room in a museum.


The next day, I explained the project to the class. They were to plan a museum room that included 3 objects of their choosing. Each person would build a model of their imagined room using the STEM Lab staples of cardboard, glue, and construction paper. Students would work with a partner to use Scratch to program and digital version of each partner's room that used by key press events to switch between rooms. The rooms are narrated giving at least 2 facts about each object included. Finally, the model museum rooms would be linked via the Makey Makey to the team Scratch project so that when the door to each room is opened, it causes that part of the program to run.


I gave the students a fair bit of leeway in what they added to their museums. This was so that they could include objects representing personal interests and passions. The only requirement was that they be able to give two facts about each object in their rooms. It has been interesting to see what objects the students have included. Some rooms are full of fancy cars or sharks, while others have favorite foods and athletes. The attention to detail that several students added to their physical models. As always, I have been really impressed by how the students helped each other to complete the elements of the project on time. For some, the coding comes more naturally and for others it is the building. I love how they all work together to ensure that everyone's project is finished on time.

I try to mix it up each year in the lab and to not repeat projects too often, but I am loving this one so far and can it it becoming a regular part of the lab curriculum.

The guide by Kathleen Fugle is here: Tiny Museum on Instructables.

The gallery of our projects is here (more added soon): Mini-Museum rooms.


Sunday, October 13, 2019

Biography Bottles

By the time students get to the 5th grade, their projects have both physical and digital elements. That is, their final products include some computer programming and something they made with their hands using generous amounts of glue and/or tape. Another consistent element of the 5th grade projects is that the students are creating something that shares their knowledge, thoughts, ideas, and understandings on a selected topic. I select a broad category and the students select a topic from that category to be the subject of their research.
The first unit this year is biographies of notable women (mostly women anyway) from STEM related fields. I selected 6 subjects for each of the 4 groups of 5th graders to choose from. There was some overlap from group to group, but always some variation as well. Ideally each group would have had an entirely different set of people to choose from, but I was limited by what is available on the digital research tools available to the students. The problem with trying to introduce students to lesser known (but no less important) women and people of color in STEM is that there are not as many resources for them to use to gather information.

Students had some time to research their choices because there were always a few who they had never heard of. They selected a person they were interested in studying and set about gathering more information on that person's life and work. The students were also able to decide if they wanted to work with a partner or go it alone.


(The project in the video above is one of many excellent final programs. This one is about Rachel Carson, see the whole project on Scratch: here.)

The final product had two parts. The first was to create a Scratch project that told about the life of their selected topic. Students had to include an image of their person, basic biographical data, information about their education, and the significance of their work. The second part of the project was to use a plastic bottle, cardboard, construction paper, and various other crafting supplies to build a model of the person they researched. They were to try make their model look as much as possible like the person they studied. It is no mean feat to turn a plastic bottle and construction paper into recognizable portrait of Ada Lovelace or Grace Hopper, but I am always impressed by how well the students manage this challenge.

As students progress through the lab over the course of their elementary careers, it is my goal to train them to see every material that I put before them, be it a cereal box or a computer as a tool for sharing their ideas, expressing their thoughts, and building personally meaningful projects. I give students as much choice as I am able to without overwhelming them. By giving them choices and providing an array of flexible materials, though they are working on a similar task, there is a wondrous variety in the final products. The studio where the students are sharing their Scratch projects is linked below.

Scratch Biographies Studio

This project is based on an project by K. Boyce, instructions can be found on Instructables.